
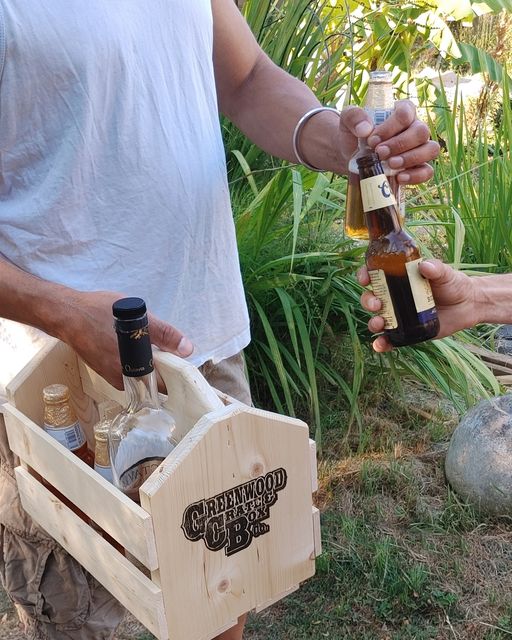
A wooden display crate often gets judged twice: once by how it looks on its own, and again by how politely it behaves on a counter, shelf or tasting table. Bare wood can slide nicely during setup, but it can also pick up grit and leave small rub marks if the surface underneath is glossy or painted.
One simple fix is to plan the feet before the crate leaves the bench. Turn the crate over, brush the bottom clean, and mark four small pad locations near the corners. Keep them tucked in far enough that they do not show from normal viewing height, but wide enough that the crate sits steady.
Peel-and-stick felt dots work for many light display jobs. For heavier boxes, a thin cork pad or small rubber bumper may be better. The point is not to lift the crate high; it is to create a soft contact point that keeps dust, finish and counter surfaces from grinding against each other.
Before sticking anything down, do a quick balance test on a flat scrap board. If the crate rocks, fix the wood first instead of asking the felt to hide the problem. Pads should protect a good setup, not cover up a twisted base or a proud fastener head.
This habit is especially useful for crates that move between the shop, a photo table and a retail counter. Soft feet make the crate easier to reposition without dragging, and they give whoever handles it a small clue that the bottom face has been finished with care too.
Practical takeaway: keep a small envelope of felt dots, cork pads or rubber bumpers near the finishing bench, and add them only after the crate sits flat, clean and ready for the surface it will live on.
Display CratesRetail DisplaysFinishing