
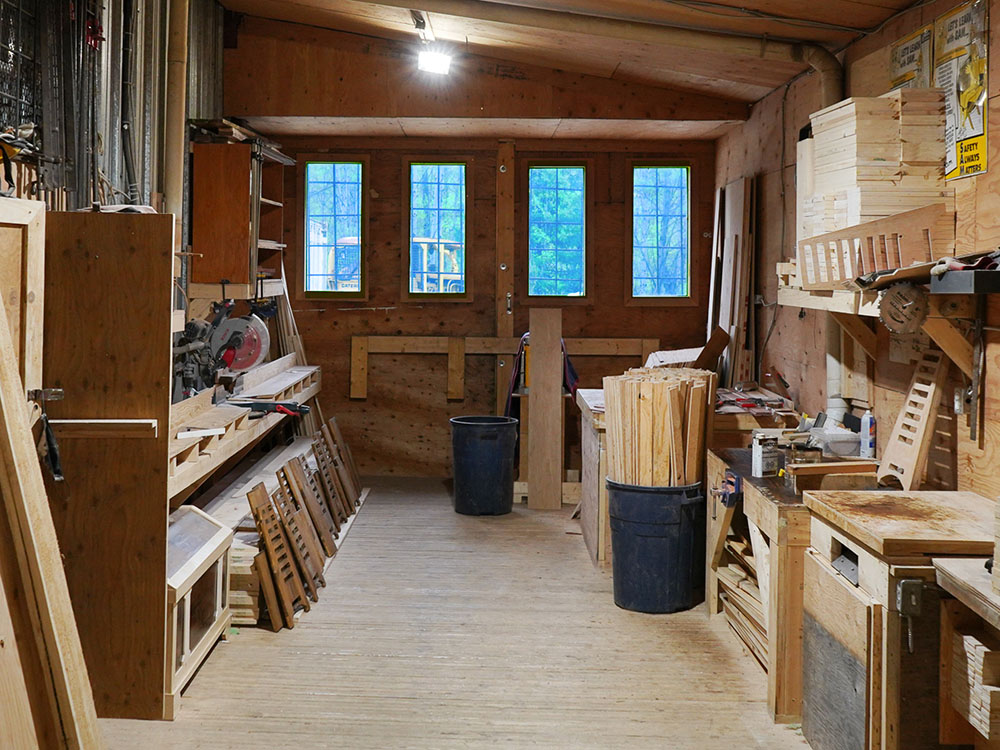
A box can feel smooth after sanding and still be carrying plenty of dust. Look inside the corners, along a lid rebate and around the rim. Put finish straight over that loose material and you can end up brushing grit around instead of laying down a clean coat.
Start with the work area, not the finish tin. Put used abrasive aside and vacuum the bench with equipment suitable for fine wood dust. Clean the supports the box will sit on too. Otherwise, turning the box over can put fresh dust onto a face you have just cleaned.
Use a clean, soft brush attachment to vacuum the bare wood gently, including recesses and underside edges. Check that the attachment is free of grit before it touches the surface. Avoid blasting the box with compressed air: it sends dust into the air and onto nearby work. Use suitable dust extraction and respiratory protection for the job; a visibly clean bench does not mean the air is clear.
For the final wipe, follow the finish maker’s surface-preparation instructions. A clean, lint-free cloth may be appropriate, but do not assume every tack cloth or solvent suits every coating. Some tack cloths can leave residue, and a damp wipe can raise the grain. Test the recommended method on a matching offcut and let the surface dry as directed.
Inspect the box under light from the side before opening the finish. If the cleaning pass reveals a missed scratch or rough patch, deal with it now, then remove the new sanding dust. Move the clean box away from active sanding and keep brushes and applicators off the dusty bench.
Practical takeaway: make dust removal a separate step between sanding and finishing, not a quick swipe with the nearest rag. Keep a clean brush and lint-free cloths in a closed container so the next coat starts with clean tools as well as clean wood.
Wood FinishingBox MakingShop Care