
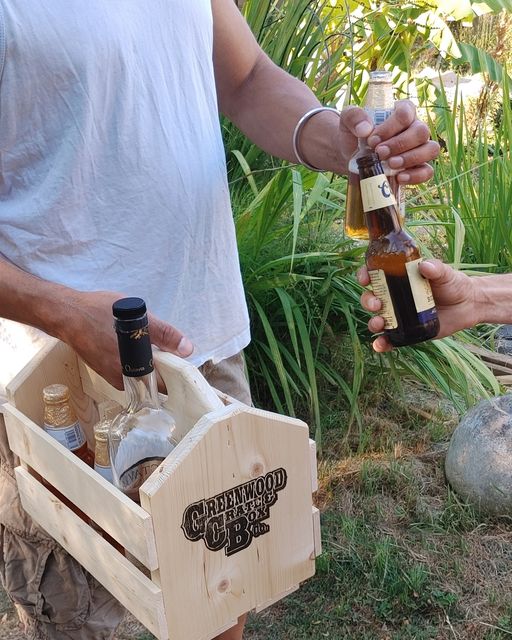
The weekend price label looked tidy until it came off with a little of the crate’s finish. Adhesive is easy to overlook when setting up a display: the card gets all the attention, while the sticky backing meets the wood. Before putting a label on a visible face, try the actual label on a matching finished offcut.
Use a scrap with the same wood, surface preparation and fully cured finish as the crate. A test on bare wood will not tell you how a painted or clear-coated face behaves. Check the label maker’s surface restrictions and removal guidance first; “removable” is not a promise that it suits every finish.
Apply a small piece using the same pressure you expect during setup. Write down when it went on and leave it for a period representative of the planned display, in similar conditions. A label that releases neatly after a minute may behave differently after a longer stay. Keep a bare area beside it so changes in colour or sheen are easier to spot.
Remove the test label slowly, following its instructions rather than pulling sharply away from the surface. Look for tacky residue, a dull patch, raised wood fibres or finish coming away with the backing. If any of those appear, stop: stronger adhesive or more pressure is not the answer. Do not reach straight for a solvent on the real crate; it can damage a finish too.
If there is no matching scrap, or the display needs to go out before a useful test is possible, keep adhesive off the wood. A freestanding card holder beside the crate is a simple option. A loose paper tag can also work where it will not snag hands or interfere with lifting. Put essential pricing where customers can read it without moving the box.
Practical takeaway: test the label and its removal, not just whether it sticks. Keep the successful sample with a note of the label type and test duration, and check the real crate’s condition before using it. When the finish or adhesive is unknown, a separate sign is the lower-risk choice.
Retail DisplaysCrate CareSmall Shop